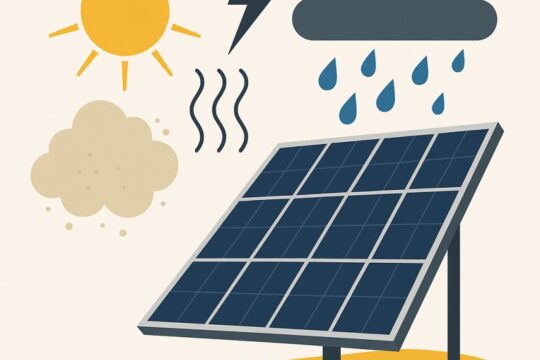
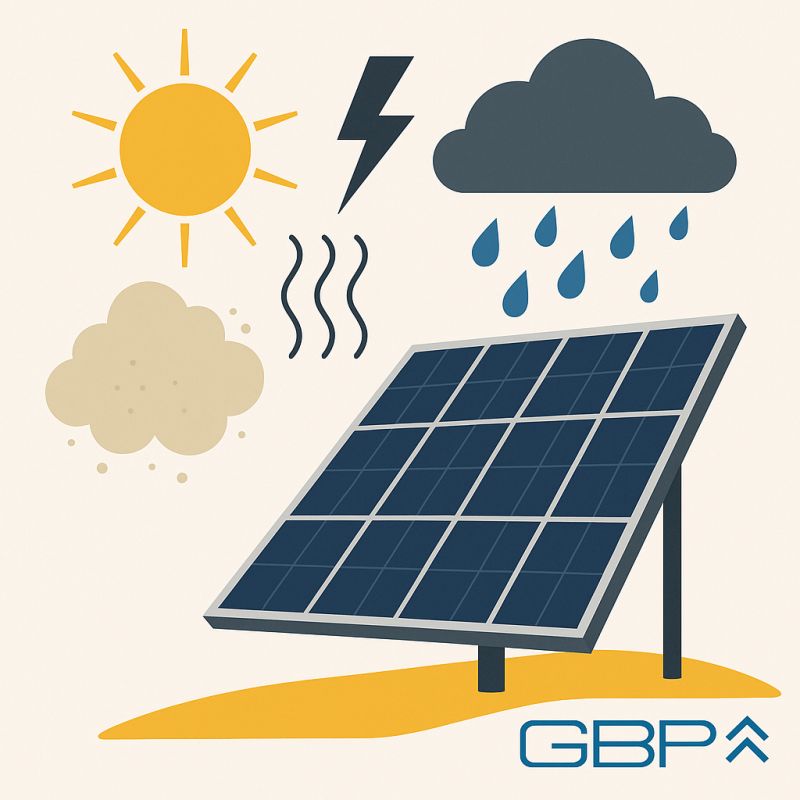
01 Perform a Visual Inspection
Before inspecting your solar array, make sure it’s safe to do so. After a major storm, there may be structural damage, exposed wiring, or broken glass. If you're unsure about the safety of your roof or electrical system, consult a certified solar technician or electrician before attempting to inspect it yourself.
Once it's safe, conduct a visual inspection from the ground or using a drone. Look for:
- Cracked or shattered glass on panels
- Discoloration or burn marks
- Panels that appear dislodged or misaligned
- Loose or hanging wires
- Damage to the mounting system
Even if your panels look intact, internal micro-cracks can still reduce performance, so a deeper technical inspection may be necessary.
02 Check System Performance and Document the Damage
Use your system’s monitoring app or inverter display to compare current power output with historical averages. A noticeable drop in generation, especially on sunny days, can indicate hidden damage or malfunctioning components.
If you don’t have a monitoring system, contact your installer or a solar maintenance service to run diagnostic tests.
Take clear photos and videos of any visible damage. Include wide shots for context and close-ups for details. This documentation will be essential when filing insurance claims or manufacturer warranty requests.
Also, collect system details such as:
- Installation date
- Panel model numbers
- Inverter brand and serial number
- Original purchase documents or installation contract
03 Contact Your Insurance Provider, Installer or Manufacturer
Most homeowner policies cover damage from natural disasters, including storms. Contact your insurer as soon as possible and provide the photos, documentation, and a damage report (if available). Some insurers require an official inspection from a certified technician to process a claim.
Be sure to clarify what components are covered, including:
- Solar panels
- Inverter
- Mounting and racking
- Roof structure (if affected)
If your solar system is still under warranty, reach out to the installer or panel manufacturer. Many solar panels come with performance and product warranties ranging from 10 to 25 years. They may cover full replacement or pro-rated costs, depending on the terms.
If your installer is no longer in business or the panel model has been discontinued, you’ll need to explore third-party replacement solutions.
04 Explore Replacement Panel Options
When replacing damaged panels, it’s crucial to find compatible models that match:
- Electrical output (wattage, voltage, current)
- Physical dimensions
- Mounting configuration
Replacing panels with mismatched models can cause system inefficiencies or compatibility issues with your inverter. If your original panels are discontinued, look for manufacturers or suppliers who specialize in custom-fit replacement panels such as GBP.
If your panels are outdated or severely damaged, it might be an opportunity to upgrade part of your system. Newer panels offer higher efficiency in the same footprint, and modern inverters come with better monitoring and safety features. Just make sure any upgrades are compatible with your existing infrastructure.
05 Schedule Installation and Monitor Closely Post-Replacement
Even if you’ve sourced the replacement panels yourself, professional installation is highly recommended. A certified installer will:
- Safely remove damaged panels
- Test and repair wiring
- Install and seal new panels
- Re-calibrate your inverter if needed
- Ensure everything meets local electrical codes
Once your system is repaired or upgraded, monitor it closely in the weeks following installation. Keep an eye on daily production numbers and set alerts for performance drops if your system supports it. Regular cleaning and periodic inspections will help prevent future issues.